Beef short ribs on a kamado
Published 26 May 2026 · Last updated 18 August 2026 · Tested by Ben Austen · Affiliate disclosure
The short version
Two beef short ribs on the BGE Large at 115°C indirect for just over five and a half hours, foil-wrapped with self-rendered tallow at the stall and rested two hours in a cold oven before slicing. The method delivered: both ribs probe-tender at 98°C, the bone walked free on each. What the meat itself taught me is in “What I learned” below.
Key takeaways
- 115°C indirect on the BGE Large, just over five and a half hours start to probe-tender. Both ribs hit 98°C internal at the same check. The method is reliable; the temperature is the one that matters.
- Trim matters less than you’d think. One of my ribs had way more fat than the other, so trim was forced rather than planned. At the wrap stage there was a 5°C gap; by probe-tender they’d finished together. The fattier rib was hotter, not cooler.
- Cheap ribs cook well but the bone-end stays chewy. Both fell off the bone cleanly and the bulk of each rib ate well, but right where the meat met the bone there was still some chew. That’s where premium short ribs render more completely; budget ribs leave a touch of it behind.
- Self-rendered tallow at the wrap is the upgrade. Trim the big fat chunks into the drip tray pre-cook (no water), let them render slowly through the first three to four hours taking up the oak smoke, then pour the tallow into the foil at the wrap stage. The cook’s own fat carrying the cook’s own smoke back into the meat.
- The verdict: the technique works. The next variable I’d change is the meat, not the method.
At a glance
| Prep time | 20 minutes active (trim + rub) |
| Cook time | 5 hours 30 minutes |
| Rest time | 2 hours wrapped |
| Total time | ~7 hours 50 minutes |
| Servings | 4 (2 × 1.2 kg ribs, ~2.4 kg total) |
| Cooking method | Kamado, indirect with ConvEGGtor |
| Temperature | 115°C steady, no temperature bump after wrap |
| Difficulty | Medium |
| Equipment | BGE Large or equivalent kamado, ConvEGGtor (heat deflector), probe thermometer, drip tray, foil, insulated cooler or cold-oven rest space |
| Cuisine | British BBQ |
What you’ll need
Equipment
- BGE Large or equivalent kamado (I cooked these on my BGE Large)
- ConvEGGtor (heat deflector) for indirect setup
- Probe thermometer with a heat-rated wire that can run through the dome seal without lifting the lid
- Drip tray, foil-lined, sized to sit on top of the ConvEGGtor with room around the edge for airflow
- Insulated cooler OR a clean cold oven with a stack of clean tea towels for the rest
Ingredients
- 2 individual beef short ribs (single-bone plate cut), approximately 1.2 kg each (~2.4 kg total)
- SPG rub: equal parts coarse black pepper and sea salt, half-part garlic granules (1:1:0.5)
- Lump charcoal (I cooked these on Fuel Express Restaurant Grade)
- Oak chunks for smoke (3 to 4 fist-sized chunks)
- Heavy-duty aluminium foil for the wrap
What to ask the butcher for
Beef short ribs in UK butcher language usually means plate ribs, the short, fat, dramatically-meaty bones from the lower chest. (The other “short rib” cut, chuck short ribs, is shorter, leaner, and cooks differently.)
They come two ways: individually (single bone each, 1 to 1.5 kg apiece, what I cooked) or as a Jacob’s-ladder (3 to 4 bones kept together in a slab, sometimes 3 to 4 kg in one piece, the cut that gets called “dino ribs” online).
Same cut, different presentation. The cook works for both, but Jacob’s-ladder takes about 30 to 45 minutes longer because the slab is thicker.
What you’ll find at UK supermarkets: usually “barbecue beef ribs”, which is most often individual plate ribs but sometimes chuck. Ask if you can’t tell from the packaging. Chuck won’t render the same way over five hours at 115°C.
What you ask the butcher: “beef plate ribs, individual” (or “Jacob’s-ladder, 3-bone slab” if you want the showpiece). Most independent UK butchers know both terms.
My local Middle Eastern shop has a butcher in the back. That’s where these came from. UK readers should know that ethnic butchers (Turkish, Persian, Lebanese, Pakistani, or halal-certified) often carry beef short ribs at materially better prices than specialist or “BBQ-focused” butchers, and the cut is exactly the same cow. Worth a walk down the high street to look. What you don’t necessarily get is the premium beef: grass-fed-finished, dry-aged, properly marbled. I cover what that meant for the cook later in this piece.
The cook
- Trim and prep the ribs. I knife-trim the big fat chunks off both ribs into the drip tray, not the bin. They’re the start of the self-rendered tallow. I pat each rib dry, then rub generously with SPG on all sides (1:1:0.5 pepper:salt:garlic granules).
- Set up the BGE. I light the lump single-spot minion-style on one side of the firebox, drop the ConvEGGtor in with the drip tray on top (no water; water slows the tallow render and makes an emulsion), then bring the dome up to 115°C with the bottom vent at about a fingernail’s width and the top vent the same. If I overshoot, I hold the ConvEGGtor and drip tray back over the rim of the firebox; their thermal mass is the second cooling lever beyond vent control.
- Ribs on. Fat cap up. I drop the probe into the meatier of the two ribs. It doesn’t matter which one; you want a representative reading, not the leanest.
- The first three to four hours are hands-off. I leave the kamado to hold 115°C and don’t peek. The fat I trimmed into the drip tray is slowly rendering and taking up oak smoke through this window.
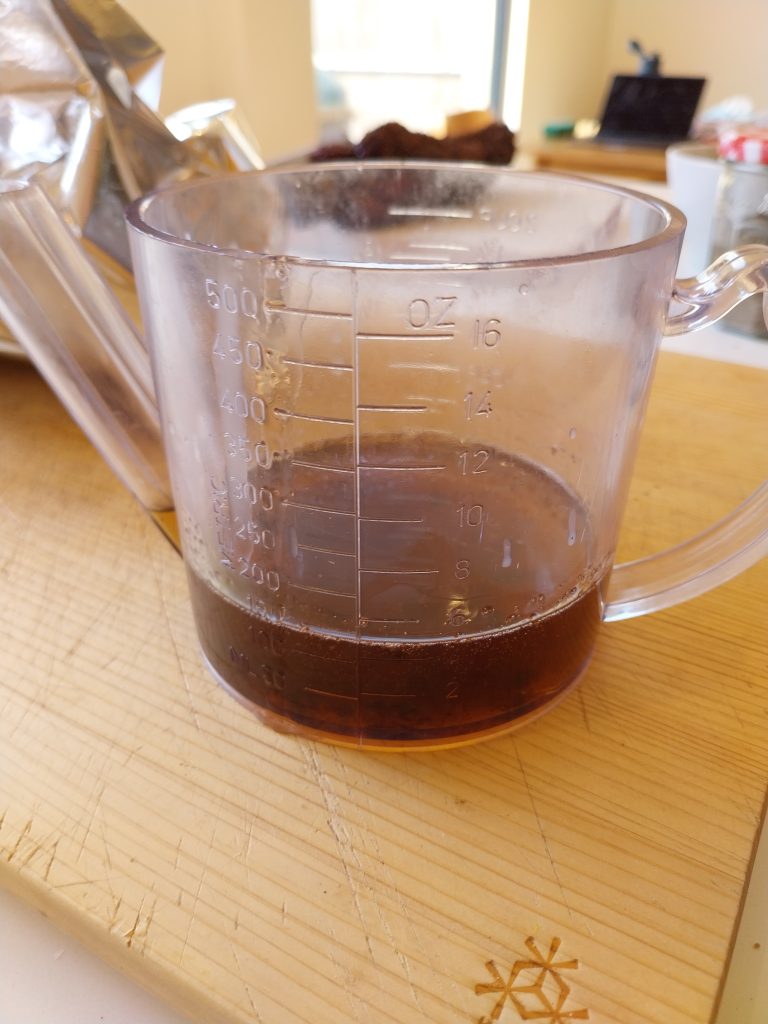
- Wrap at around three and a half hours. Internal should be in the 72–77°C range (mine were a 5°C gap apart). I take each rib off, wrap it in foil with a tablespoon of the now-rendered tallow from the drip tray, and put them straight back on at the same 115°C. No temperature bump after wrap; the climb to probe-tender wants to be slow.
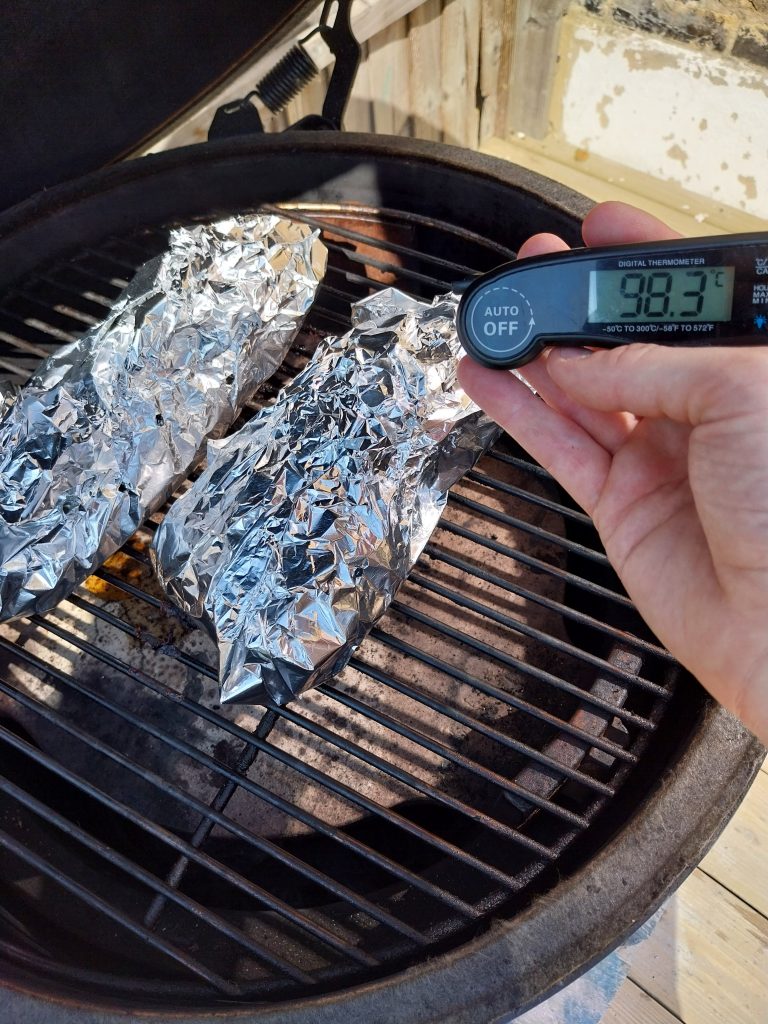
- Probe-tender check at around five and a half hours. I slide a probe through the meatiest section of each rib. I’m looking for a butter-soft feel through the protein, not a specific temperature reading. 98°C is where mine landed; on a different cut it might land at 96 or 99. The feel is the truth.
- Pull and rest. Both ribs come off (still wrapped) and go straight into the cold oven with a stack of clean tea towels piled on top. I rest them about two hours. The collagen finishes redistributing and the ribs come out at the right serving temperature.
- Slice and serve. I unwrap, slice across the bone, salt the cross-sections lightly while still hot. Plate with whatever sides you’ve made.
What to serve it with
Beef short ribs are rich. The plate is going to want some sharpness and crunch to cut through them. I’d lean into smoky-mayo potato salad (which I cooked alongside these ribs on 9 May), or a slaw with proper vinegar bite, or quick-pickled red onions sliced thin. Anything sweet or starchy on its own becomes too much; everything works once there’s acid in the picture.
For the drink: a modest red with some structure. Rhône blends do the job (Côtes-du-Rhône, Vacqueyras, anything Grenache-Syrah-led). Spanish Garnacha works for the same reason. If you’d rather a beer, something with enough bitterness to stand up to the fat: a proper bitter, a stout, or a hopped pale. A session lager will get swamped.
The bone marrow is the bonus course. Once you’ve sliced the meat off and you’re left with the bone, scrape the marrow out onto a piece of toasted sourdough. Salt it. That’s where the cook’s smoke ended up concentrated.
What I learned, and what I’d do differently
I had two questions going into this cook. First, would the method I’d been working on (115°C indirect on the kamado, wrap in foil at the stall, probe-tender at 98°C, long rest) actually deliver fall-off-the-bone short ribs reliably. Second, whether a local Middle Eastern shop near me, which has a butcher in the back and short ribs at materially better prices than the BBQ-focused independents I normally go to, was a source worth using. Short ribs aren’t cheap anywhere; if a local shop with a butcher in the back was selling them at a meaningful discount, I wanted to know whether the meat justified the saving.
The butcher gave me two. One had a heavy fat cap and a thick rind of fat down one edge; the other was leaner across the meat surface with a thinner cap. The trim that ended up happening wasn’t a designed experiment, just what each rib needed. I trimmed the fatty one back significantly more than the leaner one, dropping the big fat chunks into the drip tray to render slowly through the cook. That gave me two ribs side by side at the start: one with most of its fat cap retained, one with a much larger surface area of exposed meat.
What I noticed from that natural pairing turned out to matter less than what I noticed about the meat itself.
The trim observation worth keeping: at the wrap point, around three and a half hours in, the rib with the fat cap retained measured 77°C internal. The aggressively-trimmed one measured 72°C. The fattier rib was five degrees hotter, not cooler. That’s the opposite of the intuitive “fat insulates and slows the cook” assumption I’d half-expected. The likely reason: the fat cap acts as a moisture-retention layer, so the meat surface beneath it doesn’t go through the same heavy evaporative cooling phase as a bare meat surface. Less evaporative cooling, faster temperature climb. Worth knowing for any future cook where you’re trying to predict where a rib will be at the wrap stage.
But the difference washed out. By the probe-tender check at around five and a half hours, both ribs gave the same butter-soft feel through the meatiest section. Both came off at 98°C internal at the same moment. They finished together.
The method delivered, on both.
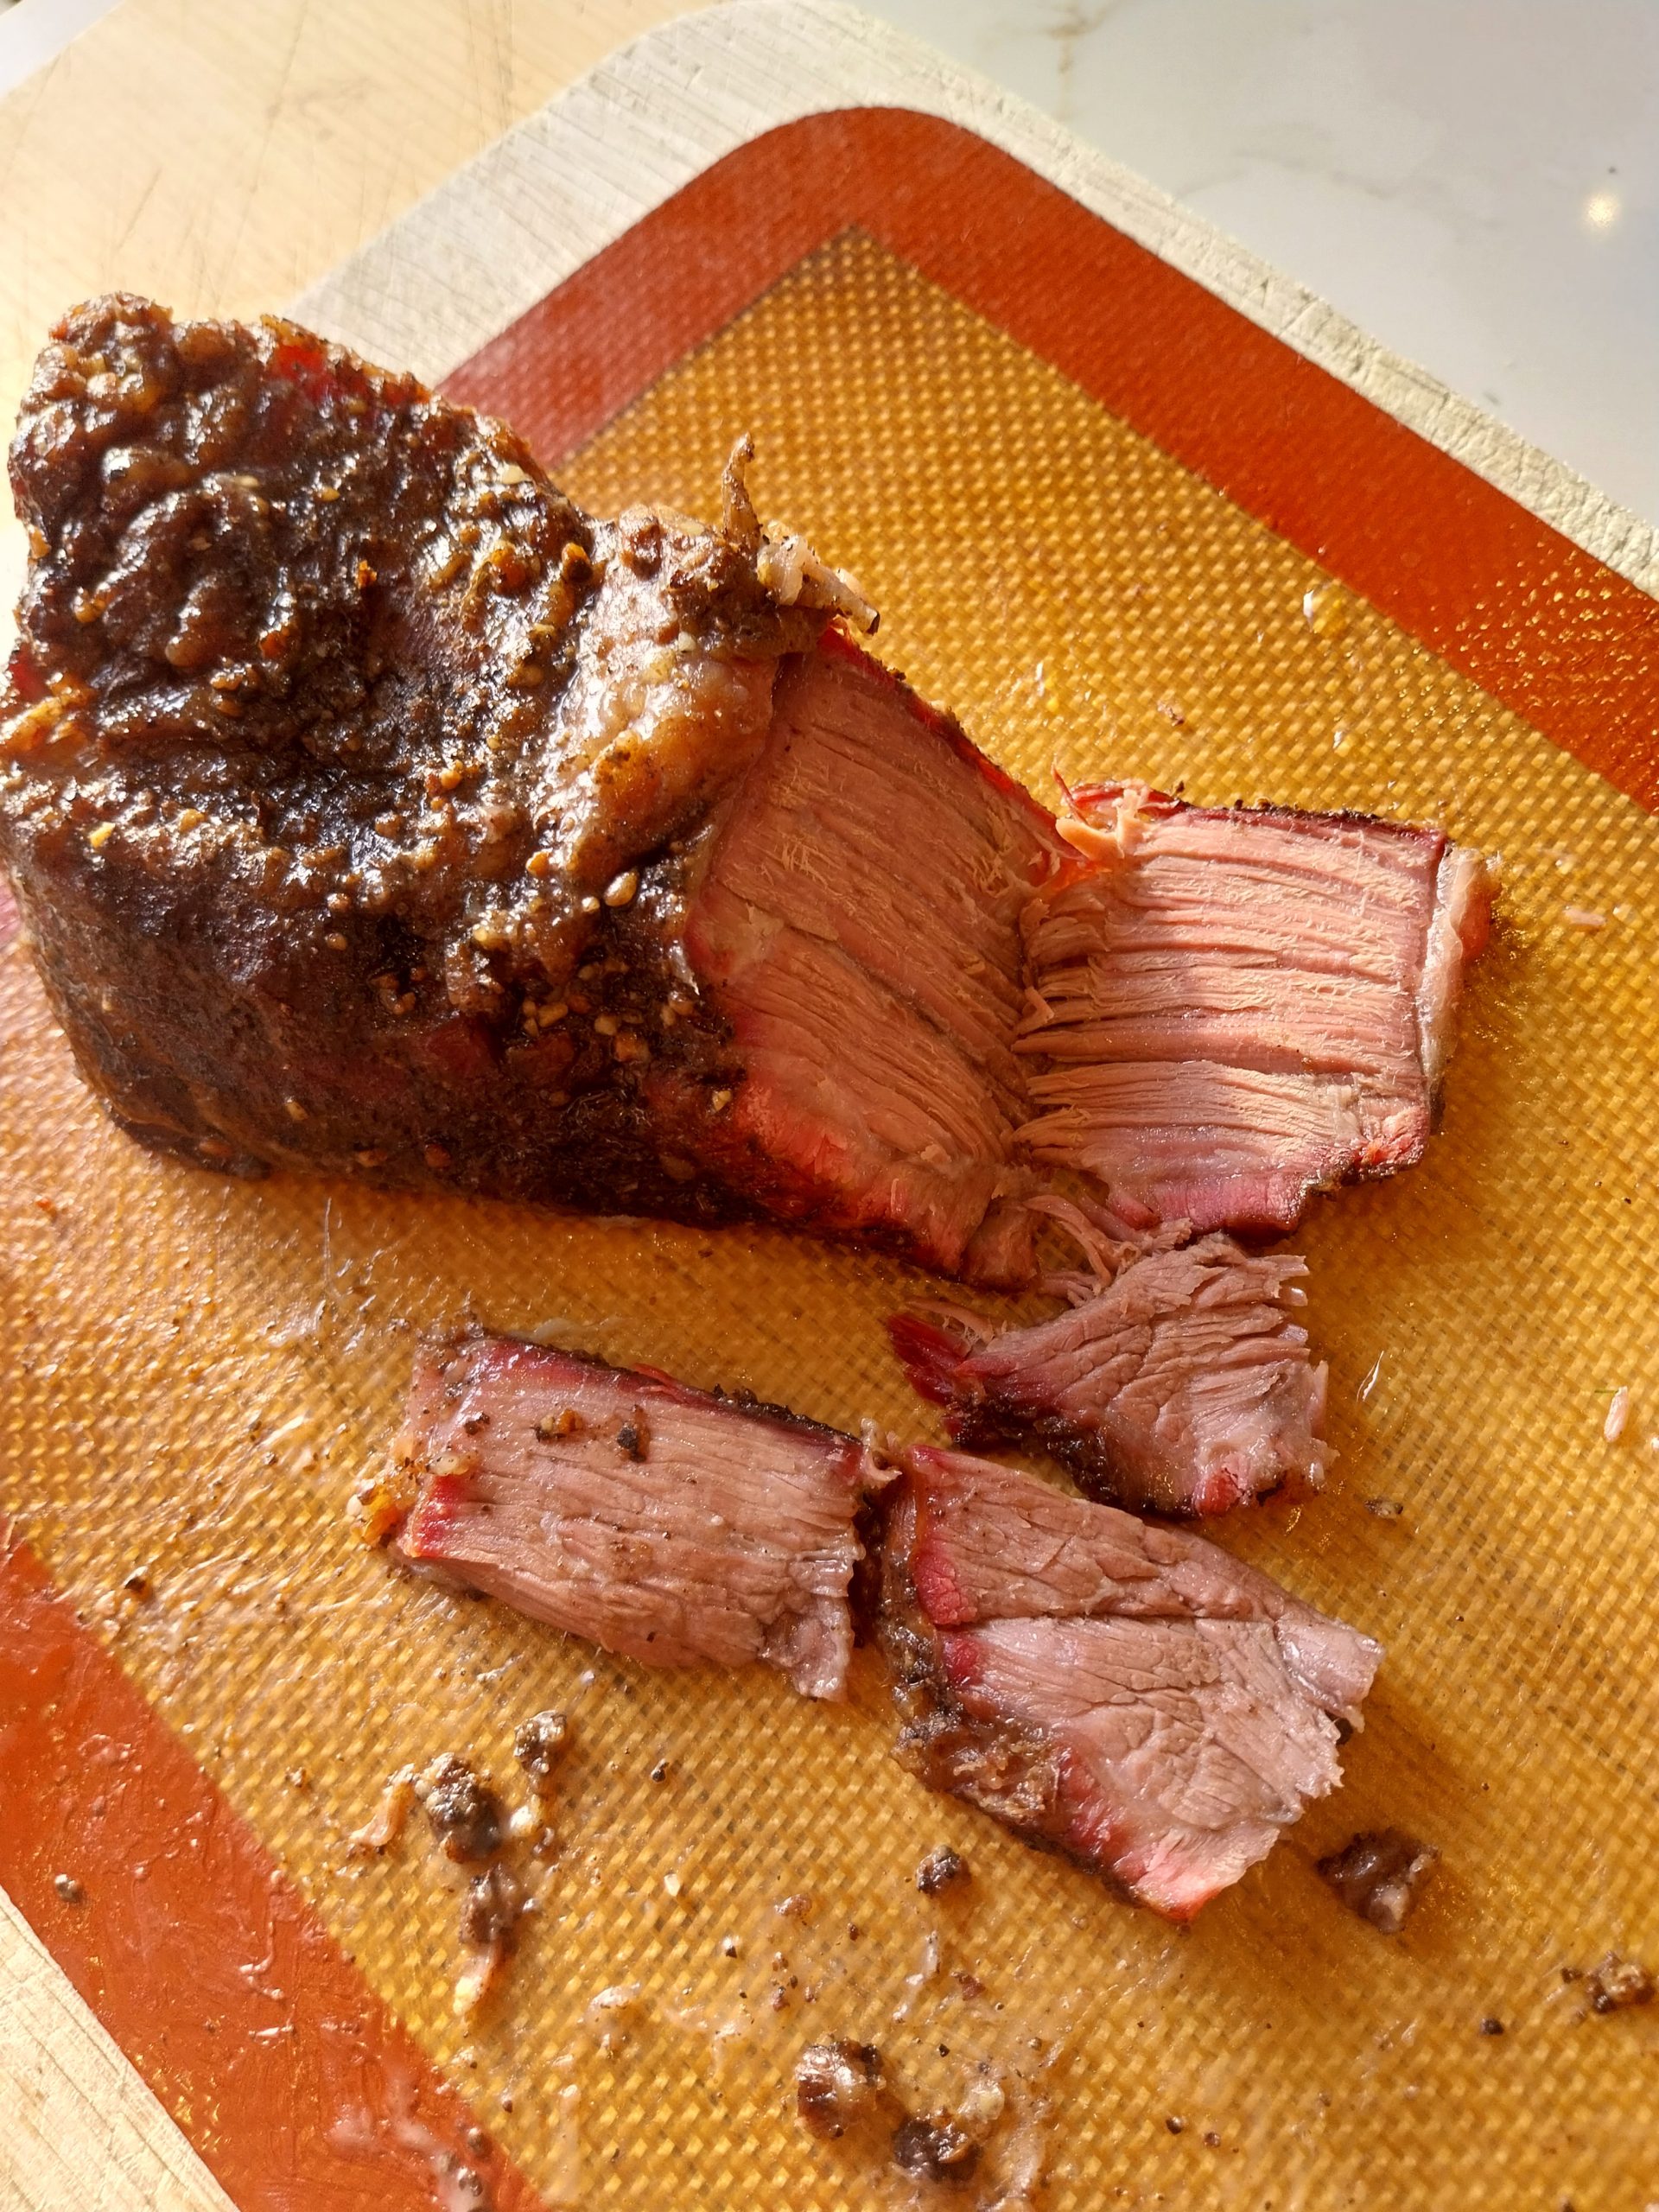
After a two-hour wrapped rest in the cold oven, I sliced both. The bone walked free on each rib (fell-off-the-bone is the right description, the connective tissue had rendered completely). The self-rendered tallow trick (trimmed fat into the drip tray pre-cook, rendered slowly over four hours taking up the oak smoke, poured back into the foil at the wrap stage) delivered exactly what I’d hoped: the cook’s own fat carrying the cook’s own smoke back into the meat at the moment it matters most. That trick is the keeper from this cook.
The muscle that came clean off the bone ate well. Where the meat met the bone, though, there was still a bit of chew to it.
The bulk of each rib bit through softly: the bark, the outer muscle, the texture you’d want from a long-cooked rib. The few millimetres of meat right at the bone interface, where the tendon-like fibres attach the muscle to the bone, didn’t quite render to the soft-juicy give I was looking for. There was still some bite there. Not unpleasant, but not what I was hoping for either.
The honest read: that’s the meat, not the cook. The muscle’s connective tissue had rendered well (probe-tender confirms it), but the tendon-like material right at the bone interface didn’t quite fully soften. That’s where premium short ribs carry more intramuscular fat to render through that interface; budget short ribs leave more of it as bite. The local Middle Eastern shop is a decent source (these were properly cut, clean prep, the right shape and weight for the cook), but the meat itself isn’t dry-aged or grass-fed-finished or carrying any of the markers that tell you the marbling is there. At 115°C for five and a half hours, the cook can’t manufacture the fat that wasn’t there going in.
The bigger takeaway is the one worth keeping for any future short rib cook: technique can take you to fall-off-the-bone every time. It can deliver the right bark, the right stall behaviour, the right rest, the right slice. It cannot fix a cut that doesn’t have the fat to render in the first place.
So I have answers to both my questions. The method works: I’ll cook short ribs this way again without hesitation. The local Middle Eastern butcher is a decent source for what it is, but for short ribs specifically, the saving doesn’t quite get me to the texture I want from a long cook. For everyday roasting cuts where marbling matters less, I’d happily go back. For short ribs next time, I’ll spend the extra at a specialist butcher and see what the method does with proper meat.
Honest caveats apply. Two ribs from the same butcher are not identical to start with: marbling, age, exact placement on the animal, natural variation. This is a thoughtful single-cook observation, not a controlled experiment.
Where this leaves me:
Now I think I’ve nailed the technique. I’m just gonna get nicer ribs next time.
Variations
A few honest ones, with notes on what I’ve actually cooked versus what’s extrapolation.
Premium ribs. This is the variation I’d recommend if you only try one. Same method, same temperature, same wrap. If Section 9’s read about the bone-end texture is right, premium ribs should close that gap. I’ll cook a side-by-side at some point and update this piece with the result.
Butcher paper instead of foil. I cooked these in foil because I wanted the maximum moisture retention for the budget meat. Butcher paper is the other established wrap option; it breathes a bit, holds slightly less moisture, lets the bark stay firmer. I haven’t done a side-by-side, so I won’t claim one’s better for short ribs specifically. If you already favour butcher paper for brisket, your instinct will tell you where to land.
Solo cook versus parallel. I cooked these alongside a pork loin, a chicken on a vertical roaster, and a tray of crackling. The ribs came off first; then the grill came up to 140°C for the rest of the cook. Solo at 115°C indirect works exactly the same way for the ribs. The parallel setup just makes better use of the fuel load.
Kettle instead of kamado. The method translates with adaptation: snake method for the coal, slightly lower target dome temperature to account for kettle heat loss (closer to 105–110°C), same wrap, same probe-tender check. I haven’t done this specific cook on a kettle yet, so treat that as a sketch not a recipe.
Related
- Big Green Egg Large — UK review. The kit I cooked these on. Six months in, kamado verdict.
- Smoky-mayo potato salad on the kamado. The side from the same 9 May cook. Cuts through the rib richness with smoke and tarragon.
- BGE Large pork loin. Parallel cook from the same day. Brined and dry-finished at 140°C.
- Pork crackling on the kamado. The snack from the same cook. Self-rendering in its own fat, on a foil tray.
FAQ
How do I know when beef short ribs are done?
The probe feel, not the temperature. Slide a probe through the meatiest section. When it goes through with the same resistance as warm butter, they’re done. Mine landed at 98°C internal on this cook; on a different cut it might land at 96 or 99. The feel is the truth.
Can I cook beef short ribs on a kettle barbecue instead of a kamado?
Yes, with adaptation. Snake method for the coal, slightly lower target dome temperature (105 to 110°C is closer to what a kettle holds with the same fuel load), same foil wrap, same probe-tender check. The total cook time is similar; the heat distribution is what changes. I haven’t done this specific recipe on a kettle yet, so treat the kettle version as a sketch not a recipe.
Why foil instead of butcher paper for the wrap?
Foil holds more moisture. For budget-end meat where you’re trying to maximise tenderness, foil is the more forgiving choice. Butcher paper breathes a bit, lets the bark stay firmer, and is the wrap of choice for brisket. For short ribs specifically, I went foil this time. Both work.
Can I skip the self-rendered tallow step?
Yes, the cook still works without it. What you lose is the cook’s own fat carrying the cook’s own smoke back into the meat at the wrap stage. Substitute with a tablespoon of unsalted butter per rib or a splash of beef stock if you want the moisture without the tallow. The wrap-without-anything version comes out drier and a little blander.
How long can I rest beef short ribs after pulling?
Around two hours in a cold oven with a stack of clean tea towels piled on top is the comfortable max. The collagen finishes redistributing, the bark stays intact, and the ribs come out at the right serving temperature. Longer rests start to soften the bark. If you need to hold them longer than two hours, an insulated cooler with a towel over them holds heat better than the cold-oven method.
What smoke wood works best?
Oak is what I used. Two big bags from a fallen oak in my parents’ garden. Hickory and mesquite both work for beef but they’re more aggressive; if you’re cooking for guests, oak hits the mainstream sweet spot. Apple and cherry are too mild for short ribs and get lost in the meat over a five-hour cook.
Sourced from cook log 9 May 2026. The cook was the trim-experiment side-by-side that produced the meat-quality finding in “What I learned”.